
Quick Answer
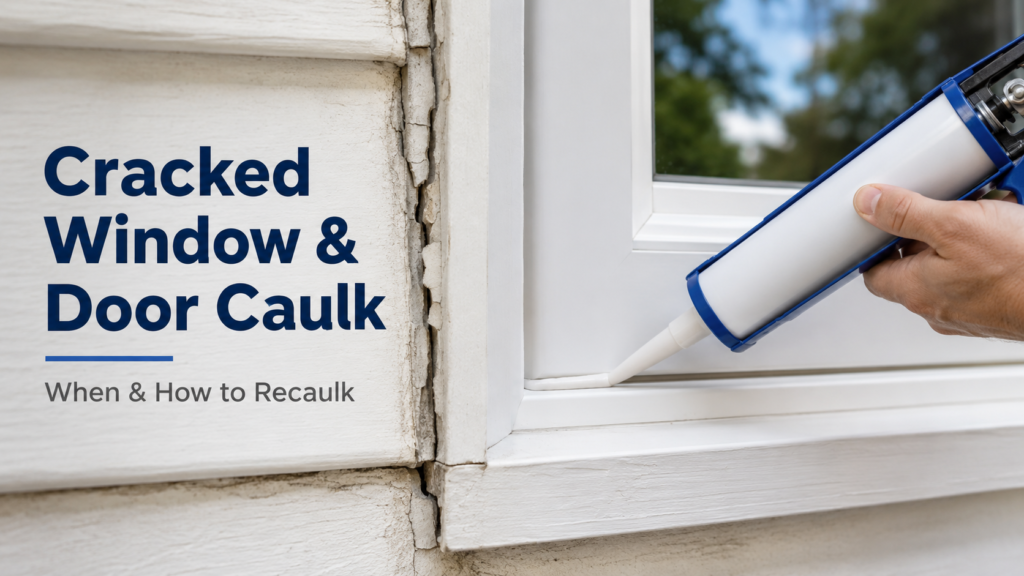
Caulk around windows and doors fails in two ways: it cracks and pulls away from the surface (visible gap), or it remains in place but has lost its adhesion bond underneath (looks intact but air and water move behind it). The visible crack test and the fingernail flex test confirm which you have. Interior caulk and exterior caulk are different products with different requirements — using the wrong one in the wrong location is the most common cause of premature caulk failure.
Interior vs Exterior Caulk — The Most Common Mistake
| Type | Correct use | Lifespan | Paintable? |
|---|---|---|---|
| Paintable latex (acrylic) caulk | Interior window and door trim gaps, baseboard, trim-to-wall joints | 5 to 10 years | Yes |
| Siliconized latex caulk | Interior wet areas (around tubs, sinks) and interior window sills with water exposure | 10 to 20 years | Often yes — check label |
| 100% silicone caulk | Exterior window and door frames, high-movement joints, metal-to-masonry | 20 to 50 years | No (paint does not stick) |
| Polyurethane caulk | Exterior high-movement joints, concrete, masonry | 10 to 20 years | Yes |
| Foam sealant (expanding) | Large gaps around window and door frames behind trim, utility penetrations | Indefinite if painted | Yes if painted promptly |
Safety First
- When removing old caulk around windows in homes built before 1978, do not sand or scrape without first checking for lead paint on the surrounding surfaces. Disturbing lead paint in exterior applications is regulated — contact your local health department for guidance.
- Do not apply silicone caulk in an unventilated space — the acetoxy cure smell (vinegar) is strong and the fumes should not be inhaled in concentration.
- Ensure exterior ladder safety before inspecting or recaulking upper-floor windows — confirm stable footing and use a rated ladder.
How to Tell If Caulk Has Failed
Test 1 — The Flex Test
Press on the middle of the caulk line with your fingernail or a thin tool. Healthy caulk is flexible — it springs back. Failed caulk is hard and brittle — it may crack when pressed, or it may already have small cracks along its length.
Test 2 — The Gap Test
Look for daylight, shadow, or feel for air movement along the caulk line. A caulk line that looks solid from a distance may have separated from the surface along its entire length without a visible crack. In winter, hold a lit stick of incense near the caulk on a windy day — smoke movement indicates air infiltration even where no crack is visible.
Test 3 — The Probe Test (Exterior)
Use a thin blade or probe tool to run along the caulk-to-surface joint. If the tool slides easily between the caulk and the window frame or wall, the adhesion bond has failed even if the surface looks intact.
Signs That Indicate Recaulking Is Overdue
- Visible cracks or gaps in the caulk line
- Caulk is hard, chalky, or brittle to the flex test
- Paint is peeling along the caulk line — indicates moisture infiltration
- Interior drafts felt near windows even when closed
- Higher heating or cooling bills without other explanation
- Water stains on the interior wall below or beside a window
- Caulk is more than 5 to 7 years old on the exterior
What to Do First
- Remove all old caulk completely before applying new caulk. Caulk on caulk adheres poorly and the new layer fails within a season. Use a caulk removal tool (a $5 plastic or metal scraper designed for this) and optionally a caulk softener product to loosen stubborn beads.
- Clean the surface. Wipe with rubbing alcohol or a degreaser. Any residue, dust, or mold on the surface prevents adhesion. Allow to dry completely.
- Choose the correct caulk type from the table above for your specific location.
- Apply in a continuous bead. Cut the caulk tube nozzle at a 45-degree angle to the bead width you need. Apply in one smooth pass, pressing the caulk into the joint.
- Tool the bead immediately. Wet your finger with water (for latex) or a caulk tool with soapy water, and run it along the bead in one smooth stroke to press the caulk into the joint and create a clean finish.
- Allow full cure before painting or water exposure. Latex: 24 hours. Silicone: 24 to 48 hours. Do not paint over silicone at all unless the product specifically states it is paintable.
What Not to Do
- Do not apply new caulk over old caulk. Remove the old caulk completely — adhesion over existing caulk is poor and the new bead will fail quickly.
- Do not apply caulk in temperatures below 40°F (4°C) or above 100°F (38°C) — most caulks will not cure correctly outside this range.
- Do not use interior caulk outdoors. Paintable latex caulk exposed to weather fails within 1 to 2 seasons, even if it initially looks fine.
- Do not apply too large a bead. A thick caulk bead shrinks more as it cures and is more likely to crack. Two passes of a narrower bead performs better than one thick one.
- Do not paint over caulk before it has fully cured — the paint traps solvents and causes bubbling.
Related Guides
- Deck Boards Rotting: Exterior Assessment
- Paint Bubbling or Peeling: Moisture vs Application
- Roof, Exterior & Structural Systems
Safe DIY Checks
- Perform the flex test on all window and door caulk — hard and brittle means replace.
- Look for visible cracks and gaps along every caulk line.
- Check for paint peeling along caulk lines — indicates past moisture infiltration.
- Feel for drafts near closed windows during windy conditions.
- Inspect the exterior caulk from the ground at all reachable windows and doors.
When to Call a Professional
- Water stains on interior walls below or beside windows indicate possible window seal failure or flashing failure beyond a simple recaulking job — a contractor should assess the full window and surrounding construction.
- Upper-floor exterior windows where ladder access is required and you are not comfortable with ladder work at height.
- Window frames showing wood rot — recaulking a rotted frame does not work; the rotted material must be repaired first.
- Homes built before 1978 where lead paint assessment is needed before exterior caulk removal.
Prevention Tips
- Inspect exterior window and door caulk every spring. Catching one failed bead costs $5 to repair and prevents potential hundreds in water damage.
- Use high-quality exterior caulk (siliconized or polyurethane) that is rated for 20-year performance rather than cheap latex that fails in 2 to 3 seasons.
- Paint exterior caulk within 24 hours of application where required — sun degrades unpainted latex caulk rapidly.
- When repainting exterior window trim, treat recaulking as part of the same project — the two tasks belong together.
Recommended Next Step
Perform the flex test on every window and door in the home, starting with those that face the prevailing weather direction. Any caulk that is hard, cracked, or gaps under the probe test should be replaced this season. Complete removal of old caulk is the most important step — new caulk over old caulk is one of the most common and most avoidable caulking mistakes.
Frequently Asked Questions
How often should exterior window caulk be replaced?
Quality siliconized or polyurethane exterior caulk applied correctly lasts 10 to 20 years. Cheap latex exterior caulk typically fails in 2 to 5 years. For a rough guide: inspect annually and replace any caulk that fails the flex test. Most exterior caulk needs attention on a 5 to 10 year cycle.
Can I caulk over mold?
No. Caulking over mold seals it behind the caulk bead and does not kill it. The mold continues to grow, the caulk fails at the adhesion point, and the problem is worse when you remove the caulk later. Remove all old caulk, clean with a mold-removing solution, allow to dry completely, then recaulk with a mold-resistant product.
What is the difference between caulk and weatherstripping?
Caulk seals stationary gaps — joints between a window frame and the wall, trim-to-wall joints, exterior penetrations. Weatherstripping seals moving parts — the gap between a door and its frame that changes as the door opens and closes. Both work together; one does not substitute for the other.
My caulk shrinks and cracks shortly after I apply it. What am I doing wrong?
Most likely you are applying too thick a bead, applying in very hot or very cold conditions, or using a low-quality product not suited for the application. A bead should typically not exceed 1/4 inch in width. Apply in mild temperatures and use a product rated for the specific substrate and location.
Is it worth recaulking a house that is going to be painted anyway?
Yes — and the two tasks belong together. Recaulk first, allow to cure, then prime and paint. Painting over failed caulk buries the gap temporarily; the paint will crack at that line within one season and the gap remains. Doing them in sequence adds minimal cost and the result lasts significantly longer.