Quick Answer
Paint bubbling or peeling on interior walls is caused by one of four distinct problems: moisture vapor pushing through the wall, a plaster or substrate separating from the surface beneath it, inadequate surface preparation before painting (no primer, dirty wall, or paint over glossy surface), or incompatible paint products. Each cause produces a different visual pattern and requires a different fix. Repainting without addressing the cause produces the same result in weeks.
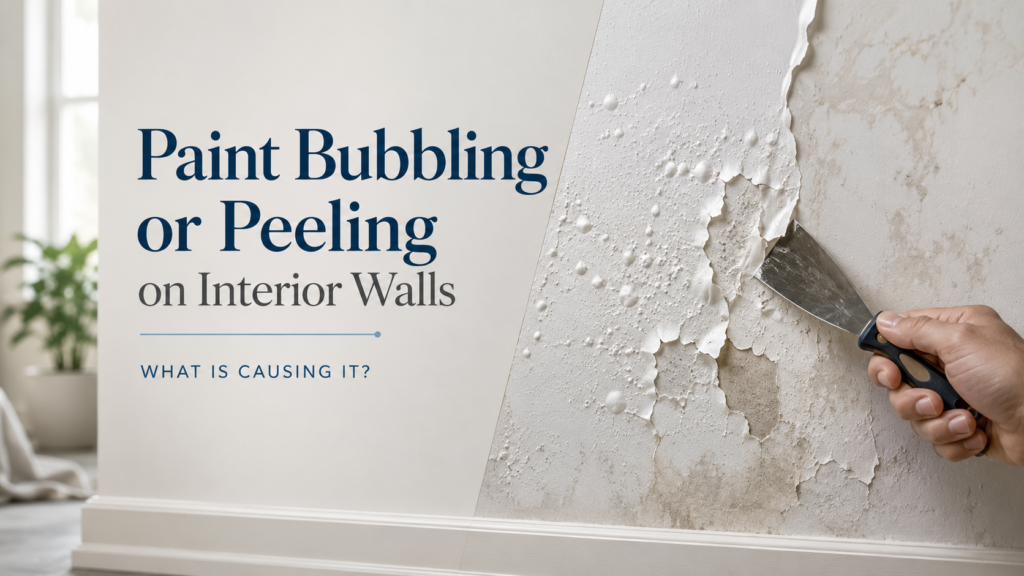
The Visual Pattern Is the Diagnosis
| What the bubbling looks like | Most likely cause | Fix required |
|---|---|---|
| Large bubbles that feel wet or damp inside | Active moisture vapor pushing from behind the wall | Find and stop the moisture source first; repaint after drying |
| Small bubbles evenly distributed across a wall | Paint applied over a wet or damp surface | Strip the failing paint; ensure surface is fully dry; repaint with primer |
| Peeling in sheets, especially near bathroom or kitchen | High humidity and moisture cycling; paint layer delaminating | Strip to substrate; apply moisture-resistant primer; repaint with bathroom/kitchen paint |
| Paint separating and pulling away from plaster in chunks | Old plaster failing behind the paint; substrate delamination | Remove all loose plaster; assess whether replastering is needed |
| Peeling only at the edges of painted areas or over tape | Paint applied over incompatible primer or glossy previous layer | Sand edges, remove loose paint, prime with bonding primer, repaint |
| Bubbling that appeared right after painting | Paint applied too thick, too fast, or in direct sunlight or heat | Let dry fully; sand; prime; repaint in moderate conditions |
Safety First
- If paint is peeling from a home built before 1978, it may contain lead paint. Do not sand, scrape, or disturb lead paint without proper protective equipment and containment. Contact your local health department for guidance on lead paint testing and remediation.
- If the bubbling is accompanied by a musty smell, dark discoloration, or soft drywall, moisture and possible mold are present. Address the moisture source before any painting. See our guide on black spots and mold identification.
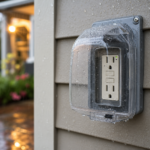
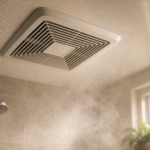
- In bathrooms, confirm the exhaust fan is venting to the exterior before repainting — see our moisture guide for the principle behind interior condensation.
The Most Common Cause Homeowners Miss: Active Moisture
Repainting over bubbling or peeling paint without finding the moisture source is the most common and most costly mistake. The new paint will bubble again within weeks. Moisture inside a wall comes from: a slow plumbing leak behind the wall, condensation on a cold-water pipe inside the wall cavity, an attic or roof leak dripping down, or vapor drive (humidity passing through the wall from outside to inside or vice versa).
Check: is the wall warm or cold to the touch? Is the bubble wet inside when punctured? Is the location near a pipe, exterior wall, bathroom, or below a bathroom? If yes to any, find the moisture source first. See our guide on finding hidden water sources.
What to Do First
- Puncture a bubble. If moisture or liquid is present inside, there is active water coming from somewhere. Stop here and find the source before any painting work.
- Press the wall around the bubbling. If the drywall or plaster feels soft, spongy, or hollow, moisture damage to the substrate has occurred — painting is premature.
- Check the room for humidity sources. Bathroom without adequate ventilation, kitchen without a range hood venting outside, or a basement with condensation issues can all cause wall paint failure from excess ambient humidity.
- Identify the paint failure type from the visual table above.
- Strip the failing paint layer — scrape and sand to a stable surface. Do not paint over loose or bubbling paint.
- Let the surface dry completely. In humid conditions, this may require days or a dehumidifier running in the room.
- Apply the correct primer for the substrate and situation before repainting.
Primer Selection Matters More Than Most People Know
| Situation | Correct primer type |
|---|---|
| Painting over glossy or previously painted surface | Bonding primer — ensures adhesion without sanding entire surface |
| Bathroom or high-humidity area | Moisture-resistant or mold-resistant primer |
| Bare drywall or plaster repair | PVA drywall primer — seals the surface so topcoat goes on evenly |
| Water stains or smoke stains showing through | Shellac-based stain-blocking primer — only product that reliably blocks stains |
| Previously failed paint that you have stripped | Oil-based primer — better adhesion on problem surfaces |
What Not to Do
- Do not paint over active bubbles or peeling paint without scraping to a stable surface first. The new paint will peel within weeks.
- Do not skip primer on a repaired or stripped surface — paint applied directly to bare drywall or plaster looks uneven and fails faster.
- Do not paint a surface that is damp. Allow complete drying — at least 24 to 48 hours after any leak repair or wet work, more in high-humidity conditions.
- Do not use outdoor-only paint on interior walls — it off-gasses differently and does not bond to interior surfaces as designed.
- In homes built before 1978, do not sand or disturb peeling paint without testing for lead first.
Related Guides
- Water Stain on Ceiling: Finding Hidden Moisture
- How to Patch Drywall: The Right Method by Hole Size
- Black Spots on Bathroom Ceiling: Mold vs Stain
Safe DIY Checks
- Puncture a bubble — wet inside means active moisture problem that must be resolved first.
- Press the wall — soft or spongy drywall means moisture damage to substrate.
- Identify the pattern from the visual table to confirm cause before buying supplies.
- Scrape all loose and bubbling paint to a stable edge.
- Let dry completely and use the correct primer before repainting.
When to Call a Professional
- A wet bubble indicates an active plumbing or roof leak inside the wall — find and fix that first.
- The plaster or drywall substrate is soft, crumbling, or has visible mold.
- The home was built before 1978 and you need lead paint testing or remediation.
- The moisture source is not identifiable and the problem keeps returning despite correct repainting.
- Large areas of plaster are failing — replastering is a skilled trade job.
Prevention Tips
- Never apply paint to a surface that feels even slightly cool and damp. Touch-test before painting.
- In bathrooms and kitchens, use paint specifically labeled for high-humidity areas — these contain mildewcides and are formulated to flex with humidity cycling.
- Run bathroom exhaust fans during every shower and for 20 minutes after — the leading cause of bathroom paint failure is accumulated humidity.
- When painting over previously painted surfaces, light sanding and a bonding primer prevents the most common adhesion failures.
Recommended Next Step
Puncture a bubble and check for moisture. If dry: identify the failure pattern from the table, strip to a stable surface, dry completely, apply the correct primer, and repaint. If wet: stop painting work, find the moisture source first, and let the wall dry completely before any repair work begins.
Frequently Asked Questions
Why does my paint bubble right after I apply it?
Paint applied in high heat, direct sunlight, or on a surface above 90°F dries too fast at the top before solvents can escape from below — trapping gas that forms bubbles. Paint applied too thickly in a single coat has the same result. Apply in moderate temperatures (50 to 85°F), use thinner coats, and avoid painting in direct afternoon sun.
My bathroom paint peels every year. What am I doing wrong?
Most likely cause is insufficient ventilation — humidity from showers saturates the paint layer repeatedly. Confirm the exhaust fan vents to the exterior (not into the attic), run it during and 20 minutes after every shower, and use moisture-resistant paint with a mold-resistant primer. Without adequate ventilation, no paint product will last.
Can I paint over bubbled paint if I flatten the bubbles?
No. Flattened or sanded bubbles that have not been fully stripped to a stable substrate layer will re-bubble when humidity or moisture returns. Scrape to a sound surface, prime, then repaint.
How do I know if the bubbling is from a roof leak or a plumbing leak?
Location and timing are the clues. Roof leak: bubbling appears after rain events, typically on exterior walls or ceilings near the roof line. Plumbing leak: appears regardless of weather, often near a bathroom above or a known pipe run inside the wall. See our detective guide for ceiling water stains.
Is bubbling paint a sign of mold behind the wall?
Bubbling paint alone is not a definitive mold sign, but it indicates moisture — and moisture is what causes mold. If the bubble is wet, the drywall is soft, or you smell mustiness near the area, mold is possible. Address the moisture and assess the drywall before repainting.